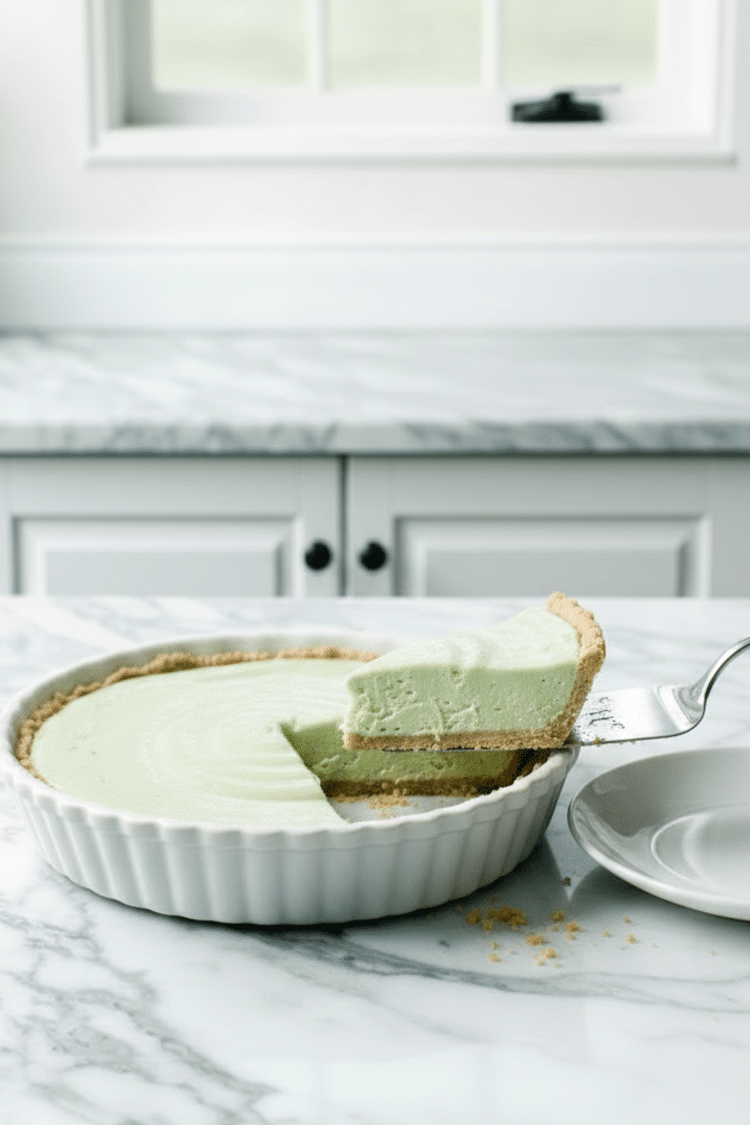
No Bake Vegan Key Lime Pie (Creamy Dairy Free Dessert)
No Bake Vegan Key Lime Pie (Creamy Dairy Free Dessert)
A creamy, refreshing treat made with simple wholesome ingredients.


If you’re looking for a creamy, refreshing dessert that feels indulgent but is actually made with simple, wholesome ingredients, this vegan key lime pie is one of my absolute favorites. It’s a no bake key lime pie that’s naturally dairy free, lightly sweetened, and packed with bright citrus flavor. I love how this vegan key lime pie recipe delivers that classic tangy-sweet taste while still being a healthier key lime pie option you can feel good about serving.
Reasons to Try This Vegan Key Lime Pie
There are so many reasons I keep coming back to this no bake vegan dessert.
First, it’s completely plant-based. That means no dairy, no eggs—just simple ingredients like cashews, coconut, and fresh lime juice coming together to create that signature creamy texture.
It’s also a dairy free key lime pie that doesn’t sacrifice flavor. You still get that rich, smooth filling and zesty lime flavor, but without the heaviness of traditional versions.
I also love that it’s naturally sweetened with date syrup or maple syrup, making it a great refined sugar free dessert option.

And maybe best of all? It’s a no bake key lime pie, which means no oven, no fuss, and it’s perfect for warm weather when you want something cool and refreshing.
Ingredients Needed for This No Bake Key Lime Pie
Crust
- 1/2 cup unsweetened shredded coconut
- 1 cup roasted salted cashews
- 2 tablespoons date syrup or maple syrup
- 2 teaspoons vanilla extract (or 1 teaspoon vanilla bean paste)
Filling
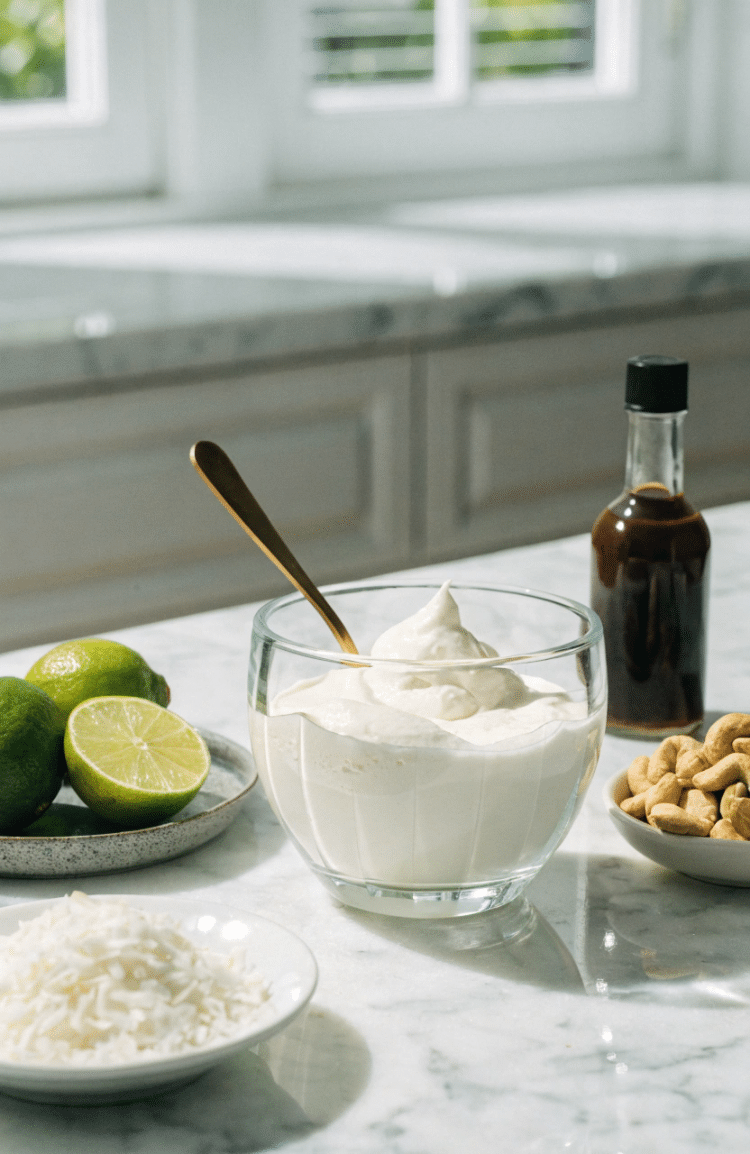
- 1 cup raw cashews (soaked for at least 1 hour, overnight preferred)
- 3/4 cup coconut oil, melted and slightly cooled
- 1/4 cup coconut cream
- 1/2 cup lime juice
- 5 tablespoons date syrup (or maple syrup)
- 2 tablespoons lime zest
- 1 teaspoon vanilla extract
- 1/4 teaspoon salt
This combination creates a creamy cashew key lime pie with a rich texture and bright citrus flavor.
How to Make This Easy Vegan Pie
This easy vegan dessert recipe comes together in just a few simple steps.
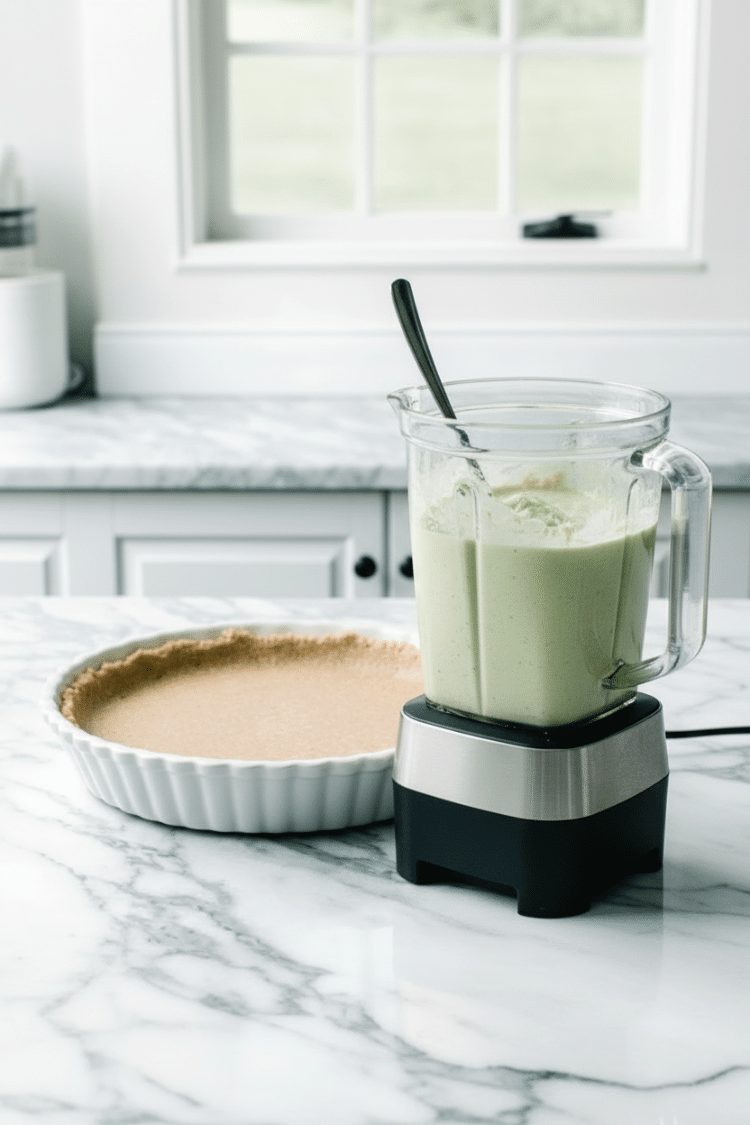
Start by adding all of the crust ingredients into a food processor. Pulse until a rough dough forms. It should clump together, but be careful not to over-process or it will turn pasty.
Press the mixture firmly into an even layer in the bottom of a lightly greased pie plate.
Next, add all of the filling ingredients into a blender. Blend until completely smooth and creamy. This is what gives you that classic creamy vegan pie texture.
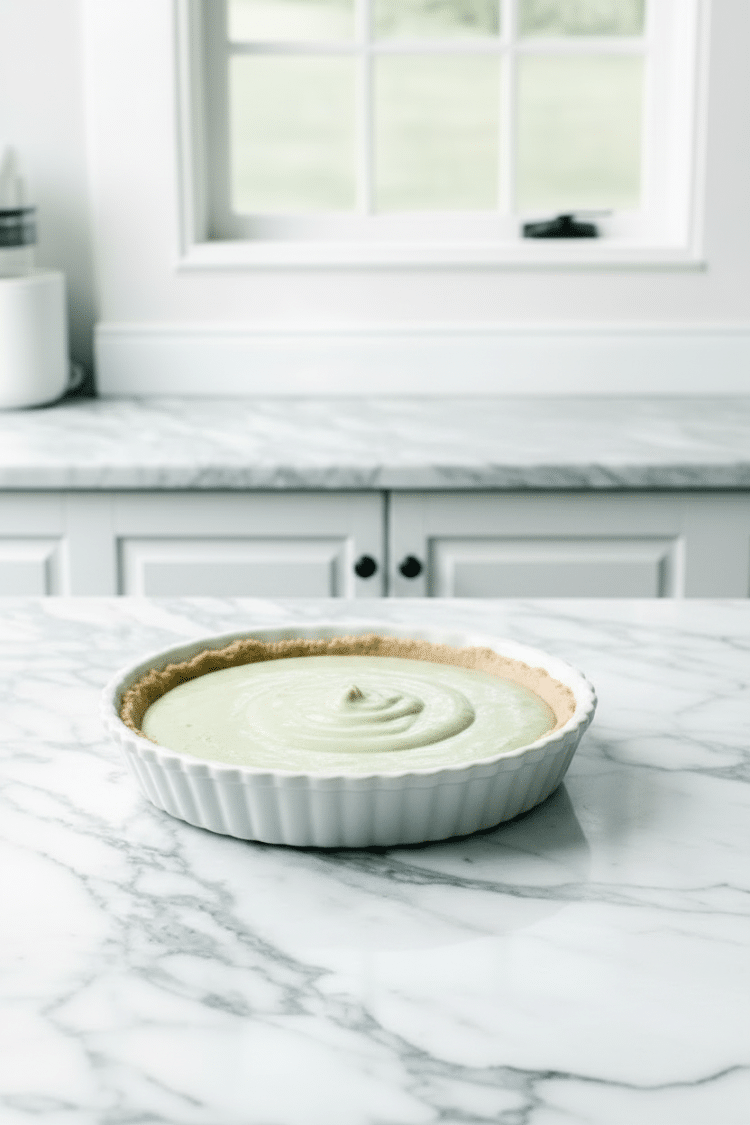
Pour the filling over the crust and smooth it out evenly.
If you want, add garnishes like lime slices, zest, or coconut flakes.
Refrigerate for 3 to 4 hours until firm, or place it in the freezer for about 30 to 40 minutes if you’re short on time.
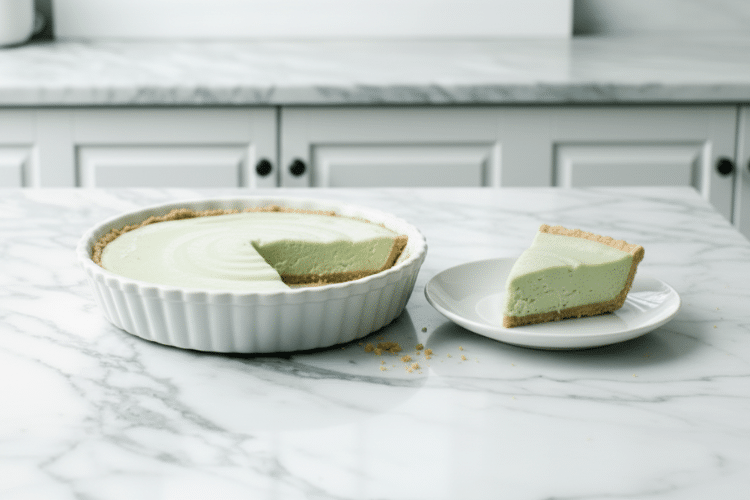
Once set, slice and enjoy your homemade vegan key lime pie.
FAQ
Is this a true no bake key lime pie?
Yes! This is a fully no bake vegan key lime pie, meaning there’s no oven required at any point.
What makes this a healthy key lime pie?
This version uses whole food ingredients like cashews, coconut, and natural sweeteners, making it a great healthy key lime pie alternative to traditional recipes.
Can I make this gluten free?
It already is! This recipe is naturally a gluten free key lime pie since there’s no flour or traditional crust involved.
Do I have to soak the cashews?
Yes, soaking helps create that ultra-smooth texture needed for a proper cashew key lime pie.
How long does vegan key lime pie last?
Store it in the fridge for up to 5 days, or freeze for longer storage. It holds up really well as a make ahead dessert.
Can I use bottled lime juice?
Fresh lime juice is best for flavor, especially in a homemade key lime pie, but bottled can work in a pinch.
Crust
- 1/2 cup coconut unsweetened, shredded
- 1 cup salted cashews roasted
- 2 tablespoons date syrup or maple syrup
- 2 teaspoons vanilla extract or 1 teaspoon vanilla bean paste
Filling
- 1 cup cashews raw, soaked in water for at least 1 hour (overnight preferred)
- 3/4 cup coconut oil virgin, unrefined, melted and slightly cooled (liquid form)
- 1/4 cup coconut cream can use solid top layer from can of full fat coconut milk
- 1/2 cup lime juice
- 5 tablespoons date syrup can also use maple syrup
- 2 tablespoons lime zest avoid the bitter white pith
- 1 teaspoon vanilla extract
- 1/4 teaspoon salt more or less to taste
-
Place ingredients for the crust into a food processor. Pulse just until a rough “dough” forms. Dough will clump together, but do no over process or it will become pasty.
-
Firmly press crumbs in an even layer into the bottom of a pie plate that has been lightly sprayed with coconut oil spray.
-
Place ingredients for filling into a blender and blend until smooth and creamy.
-
Spoon into prepared pie plate over crust.
-
Top with garnishes, if using.
-
Refrigerate for 3-4 hours, or until firm, or place in freezer for 30-40 minutes before serving.
- Lime Zest
- Chopped Roasted Cashews
- Lime slices, very thin
Serving: 1slice | Calories: 365kcal | Carbohydrates: 20g | Protein: 5g | Fat: 32g | Saturated Fat: 19g | Polyunsaturated Fat: 2g | Monounsaturated Fat: 8g | Sodium: 150mg | Potassium: 245mg | Fiber: 1g | Sugar: 10g | Vitamin A: 7IU | Vitamin C: 4mg | Calcium: 30mg | Iron: 2mg |
|
Have you made this recipe?
Tag @skinnyms on Instagram or hashtag it #skinnyms
Conclusion
This vegan key lime pie is one of those desserts that proves you don’t need dairy or baking to create something seriously delicious. It’s creamy, refreshing, and packed with bright citrus flavor—perfect for summer or anytime you want a lighter dessert. If you’re looking for a simple no bake vegan dessert that still feels special, this one is definitely worth trying.
Similar No Bake Dessert Recipes
If you loved this recipe, you’ll definitely want to check out more no bake desserts. From creamy pies to chilled treats and other refreshing summer desserts, there are plenty of easy options that skip the oven and still deliver big flavor. Try:
Want more great recipes? Be sure to follow along on Facebook and Pinterest so you never miss out!